
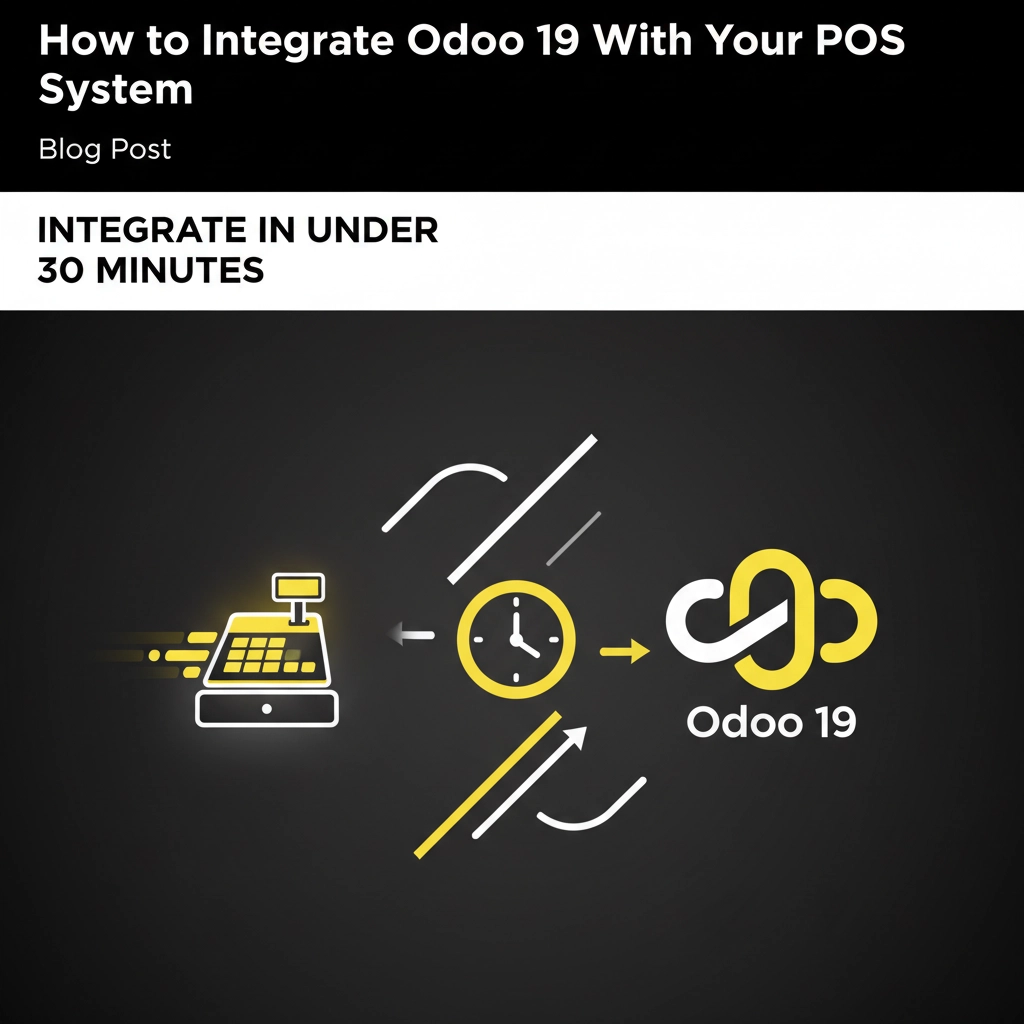

Setting up your Odoo 19 integration with your POS system doesn't have to be a week-long project that drains your budget and patience. In fact, with the right approach and hardware, you can have everything running smoothly in under 30 minutes. Here's exactly how to make it happen.
Before we dive into the how-to, let's talk about why this matters. Odoo 19 isn't just another ERP system: it's a complete business management platform that can transform how you handle everything from inventory to accounting. When you connect it properly with your POS system, you're creating a seamless flow of data that eliminates manual entry, reduces errors, and gives you real-time insights into your business.
The best part? Odoo 19's latest updates have made the integration process significantly more streamlined than previous versions. The mobile-friendly interface and improved API connections mean less technical headaches and more time focusing on what matters: running your business.
Let's get your checklist ready. You'll need:
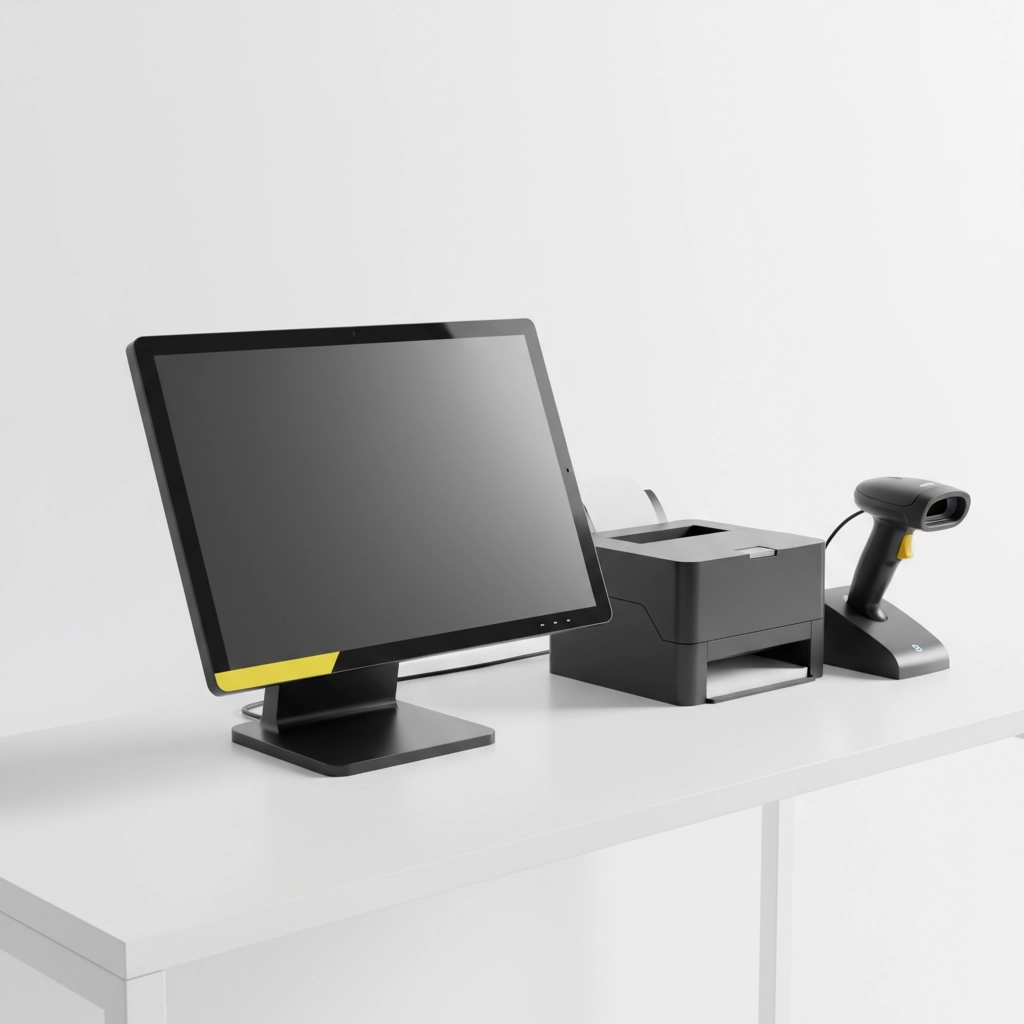
The hardware piece is crucial here. While you could technically use any POS setup, having the right equipment makes the difference between a smooth 30-minute setup and a frustrating multi-hour ordeal.
Start by logging into your Odoo 19 dashboard and navigating to the POS app. If you don't see it in your main menu, head to Apps and install the Point of Sale module first.
Once you're in, click on Configuration → Point of Sale to create your new POS configuration. This is where the magic happens. Give your POS a descriptive name (like "Main Store Register" or "Checkout Counter 1") and configure your basic settings:
The beauty of Odoo 19's redesigned interface is that these settings are now more intuitive and require fewer clicks than before.
This step is critical and often where businesses get stuck. Here's the streamlined approach:
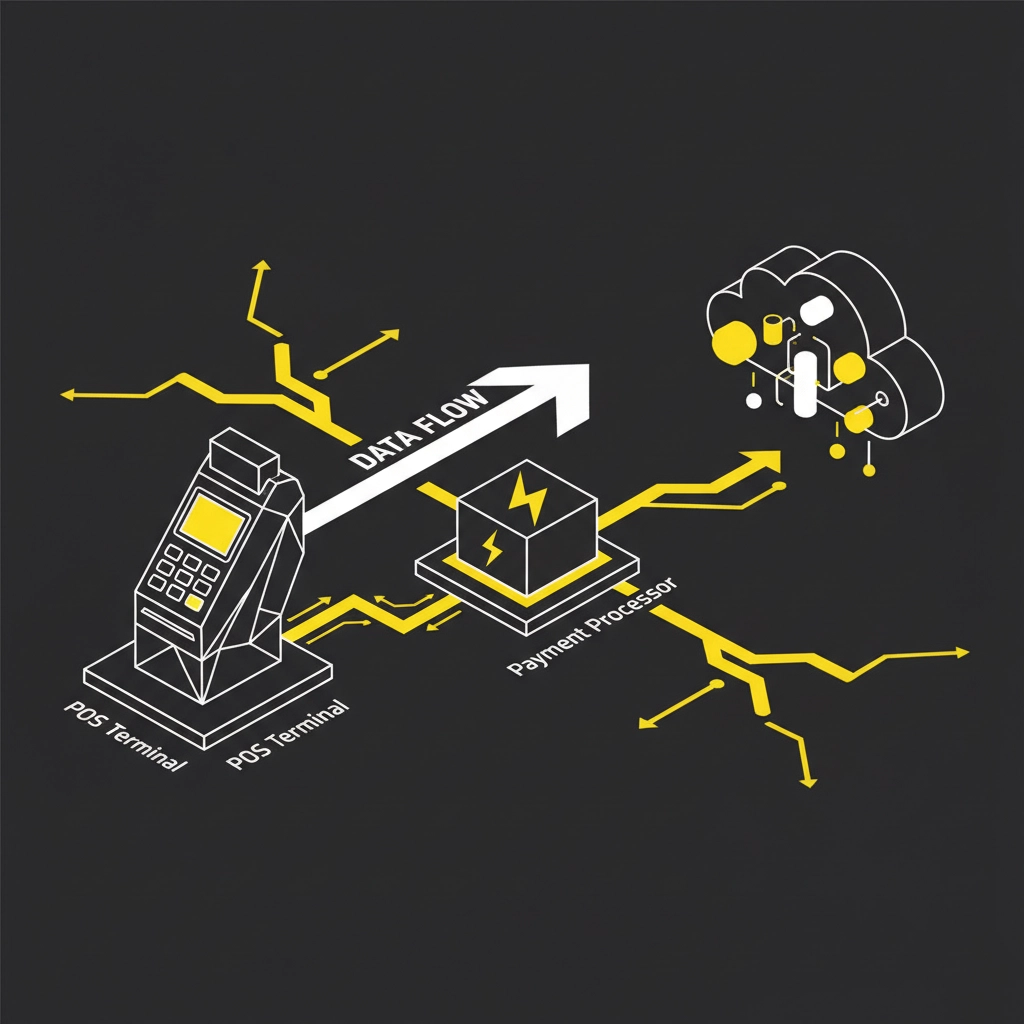
Navigate to your Accounting app within Odoo and head to Configuration → Payment Providers. Odoo 19 supports major processors like Stripe, PayPal, and Square out of the box. Install your preferred payment provider module and configure your API keys.
Back in your POS configuration, link your payment methods to the appropriate accounting journals. This ensures every transaction automatically flows into your books without manual intervention. Set up:
Pro tip: Test each payment method with a small transaction before going live. It takes 30 seconds and saves potential embarrassment with your first customer.
If you're starting fresh, you can add products directly from the POS interface. Navigate to Products → Products and start building your catalog. For each product, include:
Odoo 19's improved product management lets you bulk import products via CSV if you have an existing catalog. This is where having your product information organized beforehand pays off: you can upload hundreds of items in minutes rather than entering them one by one.
The system also supports barcode auto-lookup, which means faster checkout times and fewer manual errors during busy periods.
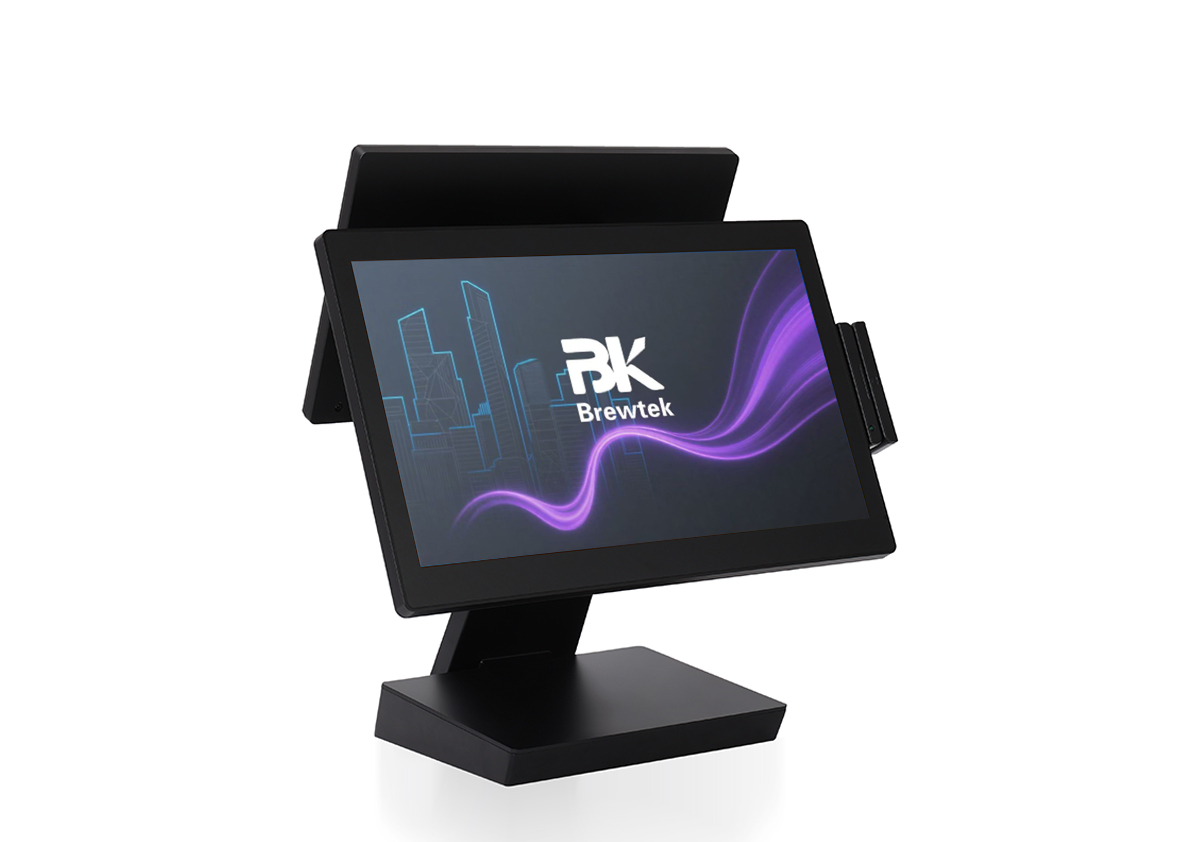
Here's where the right POS hardware makes all the difference. Modern POS systems like BK Touch's A8 series are designed with Odoo integration in mind. The plug-and-play setup means your receipt printer, barcode scanner, and payment terminal connect seamlessly without driver hunting or compatibility issues.
Connect your hardware components:
Test each component with a practice transaction. Scan a product, process a payment, and print a receipt. If everything works smoothly, you're ready for business.
Open your POS interface and process a test sale. This final step validates that everything is working correctly:
When you complete this transaction, check your Odoo dashboard to confirm the sale appears in your accounting, inventory levels update automatically, and the cash balance reflects your transaction.
Slow Performance: This usually stems from trying to sync too much data at once. Start with your core product lines and expand gradually.
Payment Processing Errors: Double-check your API keys and ensure your payment accounts are properly activated. Most issues here are simple configuration problems.
Hardware Compatibility: This is why choosing proven hardware matters. BK Touch systems are tested extensively with Odoo to eliminate these headaches.
Network Connectivity: Ensure your POS hardware has reliable internet access. Odoo 19 works offline for transactions but needs connectivity for synchronization.

While you can integrate Odoo 19 with various POS hardware, BK Touch systems are specifically optimized for these integrations. Our A8 POS terminals come pre-configured with the most common ERP connections, including Odoo 19. This means:
Once your integration is complete, you'll immediately notice several benefits:
Real-Time Inventory: Every sale automatically updates your stock levels across all channels. No more overselling or manual counts.
Accurate Reporting: Sales data flows directly into Odoo's robust reporting engine, giving you insights into profit margins, best-selling items, and customer trends.
Simplified Accounting: Transactions automatically create journal entries, reducing month-end reconciliation from hours to minutes.
Better Customer Experience: Faster checkouts, accurate inventory information, and professional receipts improve customer satisfaction.
Scalability: As you grow, adding new registers or locations becomes a simple configuration change rather than a complex integration project.
Your Odoo 19 POS integration is just the beginning. Consider expanding with:
Ready to streamline your business operations with a proven Odoo 19 integration? BK Touch's POS solutions are designed to make your ERP integration as smooth as possible. Whether you're running a single location or planning to scale, our hardware and support team ensure you get the most from your Odoo investment.
Visit BK Touch to explore our POS solutions and see how we can help you achieve seamless Odoo integration that actually works in under 30 minutes.


