


Running a small or medium business today means juggling a million tasks while your customers expect lightning-fast service. Sound familiar? You're not alone. Many SMB owners are discovering that integrating self-checkout kiosks with their Odoo ERP system isn't just a nice-to-have: it's becoming essential for staying competitive.
The good news? Setting up this integration doesn't require a computer science degree or a massive budget. We're breaking down the entire process into five manageable steps that'll have you up and running faster than you can say "streamlined operations."
Before we dive into the how-to, let's talk about why this matters. When your self-checkout kiosks talk directly to your Odoo ERP, magic happens. Orders automatically update your inventory, payments sync with your accounting, and customer data flows seamlessly into your CRM. No more manual data entry, no more reconciliation headaches, and definitely no more wondering if your numbers add up.
Plus, your customers get the fast, contactless experience they're craving while you free up your staff to focus on what they do best: creating amazing customer experiences.
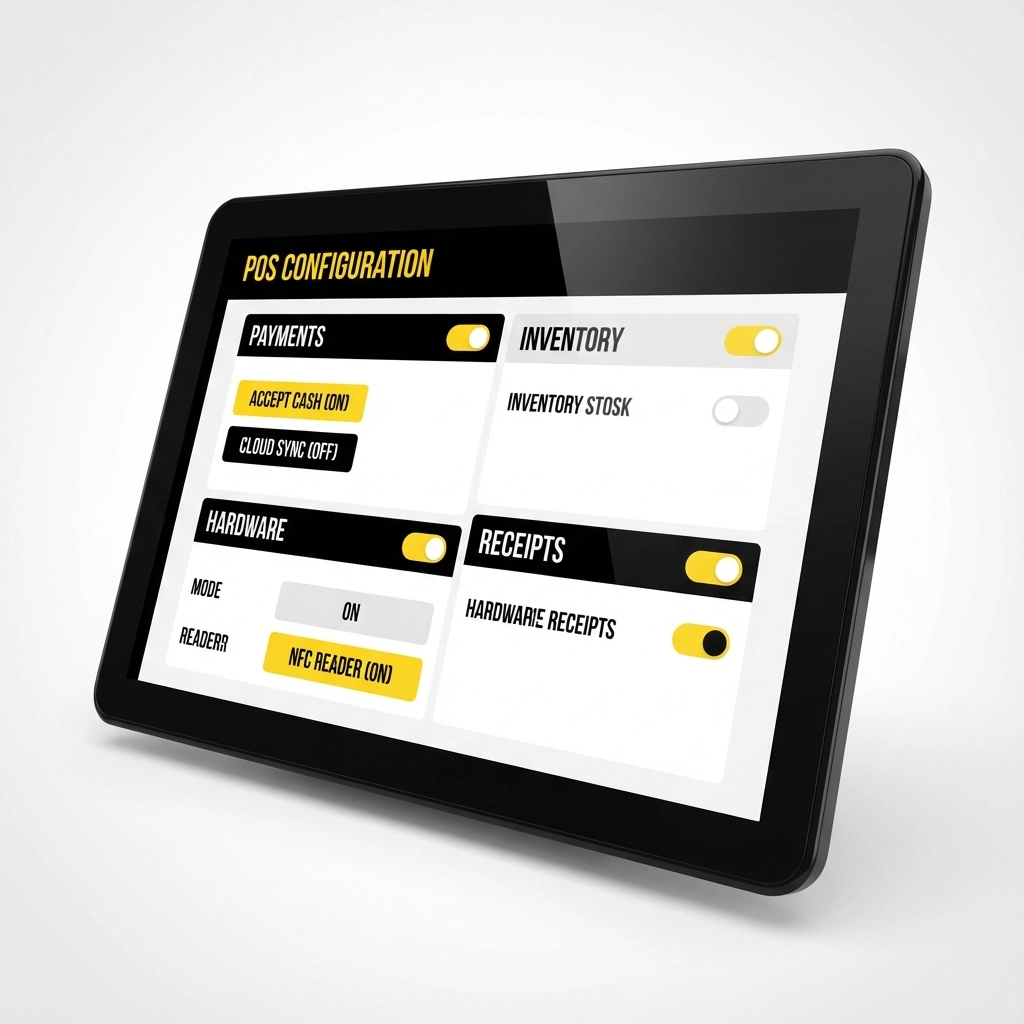
Let's start with the foundation. Odoo's Point of Sale (POS) module has built-in kiosk functionality that's surprisingly robust for SMBs.
Here's how to get started:
First, log into your Odoo backend and navigate to the POS Configuration section. Look for Settings and you'll find the Kiosk Mode option waiting for you. Enable this feature: it's literally a checkbox away from transforming your customer experience.
Pro tip for smart SMBs: Don't go all-in on day one. Start with a single kiosk to test the waters. You can always scale up once you've worked out the kinks and your team is comfortable with the new workflow.
The beauty of Kiosk Mode is that it transforms any touchscreen device into a self-service ordering station. Whether you're running a café, retail store, or quick-service restaurant, this feature adapts to your business model without breaking a sweat.
Now comes the fun part: setting up the actual self-ordering experience your customers will love.
Head back to your POS Settings and enable the QR Code Menu feature. This is where things get interesting. Odoo will generate unique QR codes that customers can scan to access your menu or product catalog directly on their phones or at kiosk stations.
Once you've enabled this feature, use the "Print QR Code" button to generate codes for each table, counter station, or kiosk location. The placement strategy is crucial here: put them where customers naturally look when they're ready to order. Think table tents for restaurants, counter displays for retail, or prominent signage near your kiosk stations.
What's brilliant about this approach is that it bridges the gap between mobile ordering and in-store kiosks. Customers can start their order on their phone and finish it at your kiosk, or vice versa. It's the kind of flexibility that makes customers remember your business.
Here's where the rubber meets the road: getting paid seamlessly and securely.
Start by installing your preferred payment provider through Odoo's Payment Apps. Popular choices include PayPal, Stripe, and Adyen, but choose what works best for your customer base and business model. Each provider has its own setup process, but Odoo makes it surprisingly straightforward.
The key to success here is proper API authentication. You'll need to connect your payment gateway to Odoo using API tokens: think of these as secure digital handshakes that allow your systems to communicate safely. This ensures that when a customer completes a payment at your kiosk, the transaction data flows directly into your Odoo system.
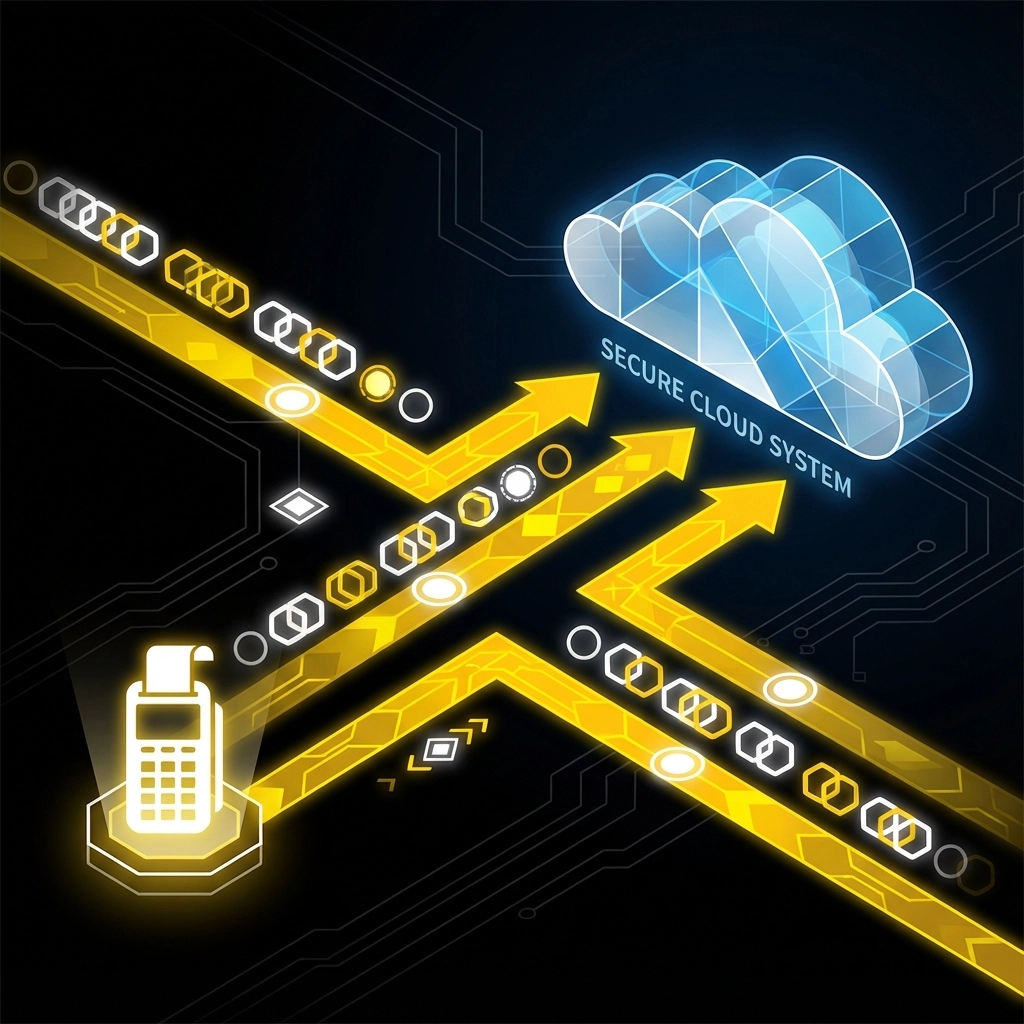
Map your transaction fields carefully. Customer data should flow into your Odoo CRM, payment information into your accounting module, and product details into inventory management. When done right, this creates a beautiful symphony of automated data flow that saves hours of manual work.
Security note: Always use encrypted connections and follow PCI compliance standards. Your customers trust you with their payment information: guard it like the treasure it is.
This step is where you make the system truly yours. Every business is different, and your checkout process should reflect your unique needs.
For restaurants and food service businesses, consider adding the POS Self-Order Checkout module from Odoo's app store. This enhancement allows customers to specify delivery options, collection times, and special instructions right at the kiosk. No more shouting across the counter or playing phone tag about order details.
Retail businesses should focus on configuring "Add to Cart" behaviors in the Shop Settings. Decide whether customers should be redirected to their cart immediately or continue browsing. Test both options with real customers to see what feels more natural for your specific audience.
Don't forget about the little touches that matter. Add custom forms for delivery notes, loyalty program sign-ups, or feedback collection. These small additions can transform a simple transaction into a relationship-building opportunity.
The goal is creating a checkout flow that feels intuitive for your customers while capturing all the information your business needs to operate smoothly.
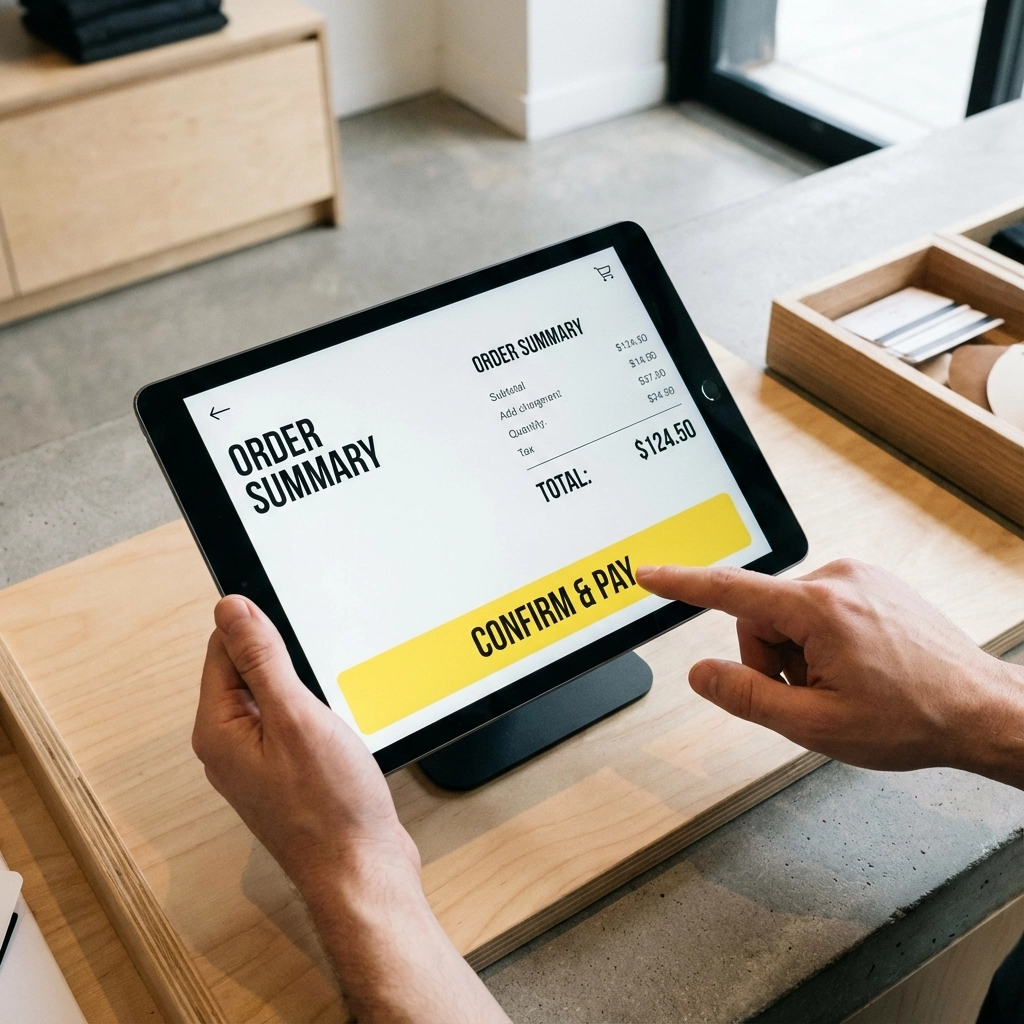
Before you unleash your new system on the world, put it through its paces. This testing phase is crucial for catching issues before they impact real customers.
Run comprehensive test orders that mirror real customer behavior. Place orders, process payments, and verify that everything flows correctly through your Odoo system. Check that inventory levels update in real-time, invoices generate automatically, and customer data appears in the right places.
Train your staff on monitoring kiosk orders through Odoo's POS dashboard. They should know how to troubleshoot common issues, assist customers who need help, and escalate technical problems when they arise.
Create a simple troubleshooting guide for common issues. What happens if the internet connection drops? How do you handle payment failures? Having these procedures documented saves stress during busy periods.
Start with a soft launch: maybe just during slower hours or with a limited menu. Gather feedback from customers and staff, then iterate based on what you learn. This approach reduces risk and helps you refine the experience before full deployment.
Once your integration is running smoothly, you'll wonder how you ever managed without it. Inventory updates happen automatically, reducing the risk of overselling products. Your accounting reconciliation becomes a breeze since all transactions flow directly into Odoo. Customer data builds your CRM database without any manual input.
But the real magic happens in customer satisfaction. Faster service, shorter wait times, and consistent experiences create happy customers who come back and bring friends.
Integrating self-checkout kiosks with Odoo ERP isn't just about keeping up with technology trends: it's about building a more efficient, profitable, and customer-friendly business. The five steps we've outlined provide a clear roadmap that any SMB can follow.
Remember, you don't have to tackle everything at once. Start with the basics, test thoroughly, and expand gradually. Your future self (and your customers) will thank you.
Looking for reliable kiosk hardware to power your new system? Check out our K15 Self Checkout Kiosk solutions designed specifically for SMBs who want enterprise-level functionality without the enterprise-level complexity.
Bolder > Boundless > Better > Kiosk.
Ready to get started? Contact us to discuss how BK Touch can help bring your vision to life. Your integrated future is just one conversation away.


